Description of this recipe
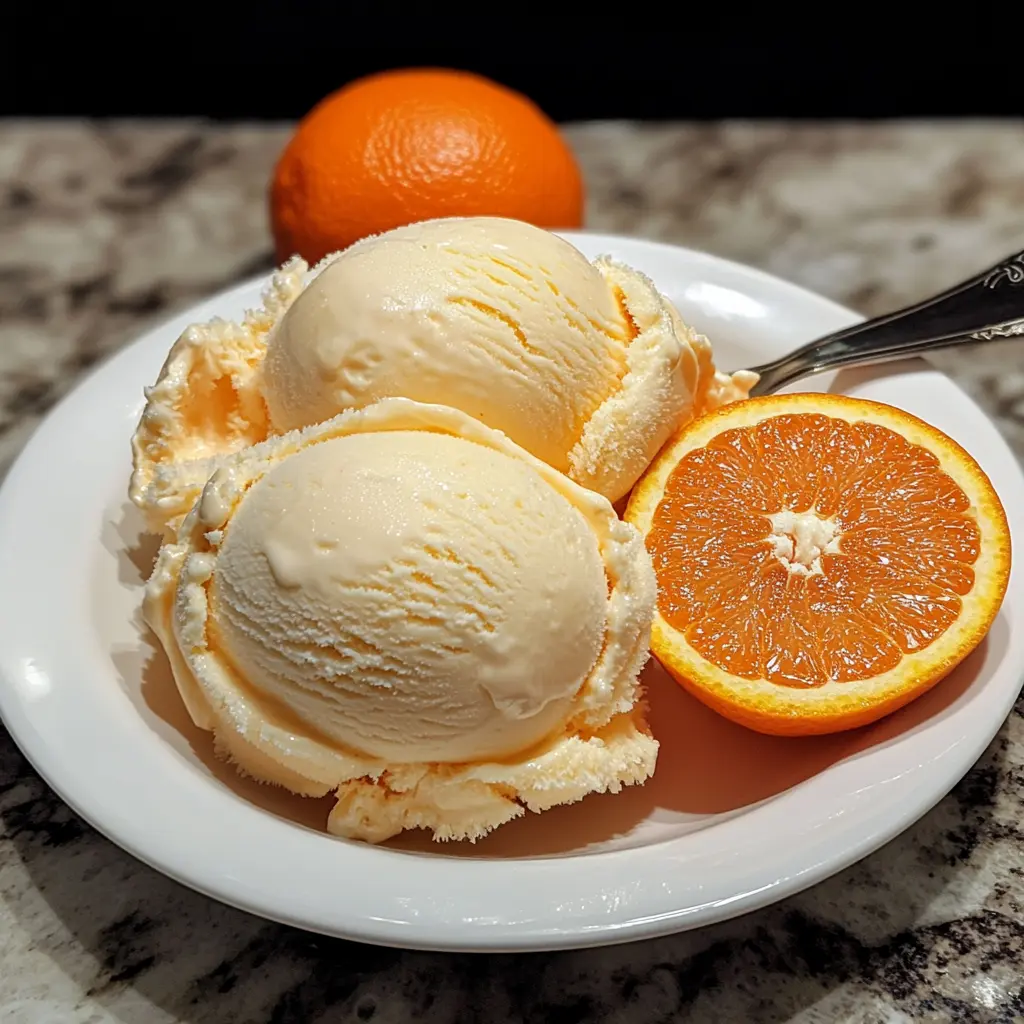
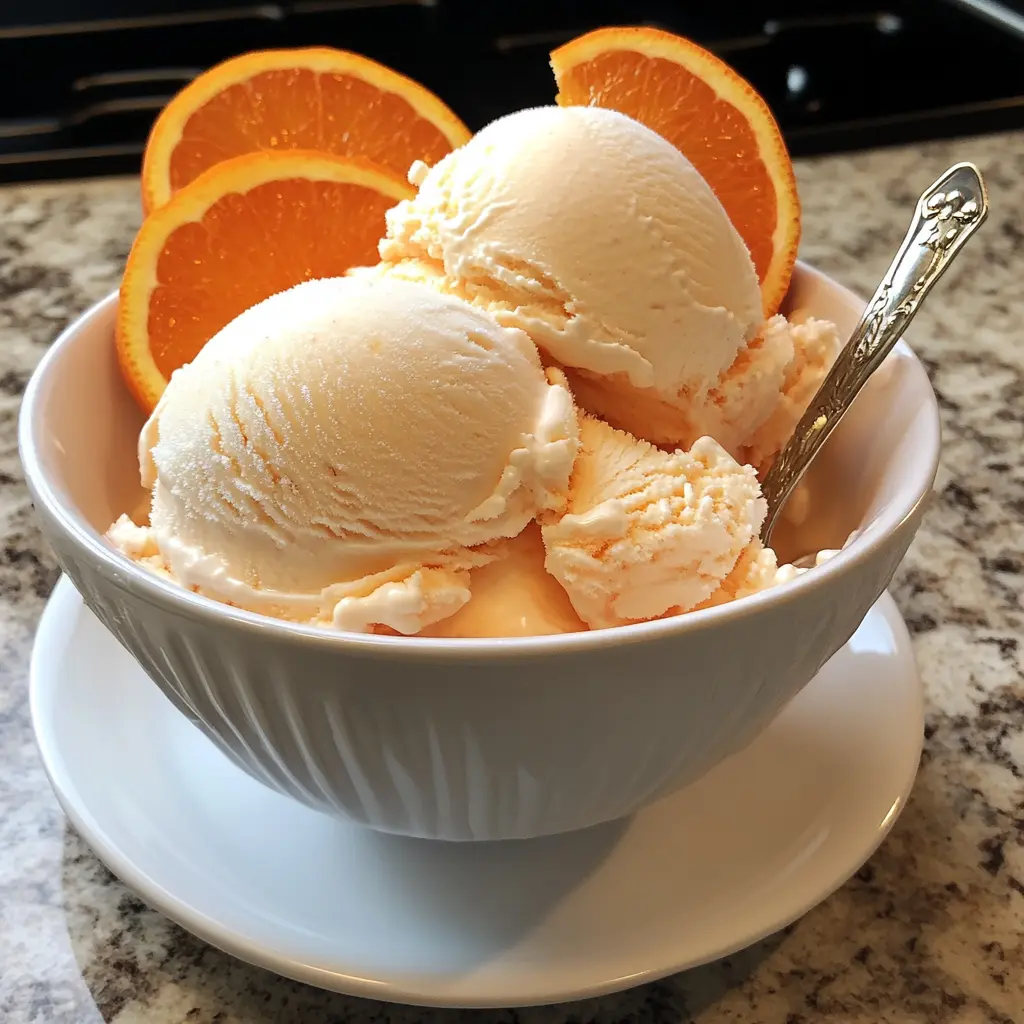
Indulge in the delightful taste of summer with this Homemade Orange Creamsicle Ice Cream. Bursting with the vibrant flavors of fresh oranges and a creamy texture, this ice cream is reminiscent of childhood treats while offering a gourmet twist that will impress family and friends alike.
Why you will love this recipe
This recipe is not just about making ice cream; it’s about creating a nostalgic experience that transports you back to sunny days filled with laughter. The combination of sweet, tangy orange juice and rich cream creates a perfect balance, making every bite a refreshing delight. Plus, it’s simple to make and requires minimal ingredients, allowing you to whip up a batch in no time.
Introduction
As the warm weather approaches, nothing beats the heat quite like a scoop of homemade ice cream. Among the myriad of flavors available, the classic orange creamsicle holds a special place in many hearts. It combines the refreshing taste of citrus with the smoothness of cream, making it an ideal treat for any occasion. With this easy-to-follow recipe, you can recreate that nostalgic flavor in the comfort of your own kitchen. Whether you’re hosting a summer barbecue, enjoying a quiet evening at home, or looking for a fun activity to do with the kids, this Homemade Orange Creamsicle Ice Cream is sure to be a hit.
Ingredients:
- 1 ½ cups (360 ml) heavy cream
- 1 cup (240 ml) whole milk
- ¾ cup (150 g) granulated sugar
- 2 tbsp orange zest (from about 2 large oranges)
- ¾ cup (180 ml) fresh orange juice
- 1 tsp vanilla extract
- A pinch of salt

Preparation:
Step 1: Prepare the Orange Base
In a medium saucepan, combine the heavy cream, whole milk, granulated sugar, and orange zest. Heat the mixture over medium heat, stirring occasionally until the sugar is completely dissolved, and the mixture is warm. Be careful not to let it boil, as this could alter the texture of the ice cream.
Step 2: Infuse the Flavor
Once the sugar is dissolved, remove the saucepan from the heat. Allow the mixture to sit for about 10 minutes. This step is crucial, as it allows the orange zest to infuse its vibrant flavor into the cream base, enhancing the overall taste of the ice cream.
Step 3: Add Orange Juice and Vanilla
After the mixture has infused, stir in the fresh orange juice, vanilla extract, and a pinch of salt. Mix well until all ingredients are fully incorporated. The addition of vanilla enhances the sweetness and richness of the ice cream, while the salt balances the flavors.
Step 4: Chill the Mixture
Pour the orange cream mixture into a bowl and cover it tightly with plastic wrap. Refrigerate for at least 2–4 hours, or until the mixture is thoroughly chilled. This step is essential for achieving the right texture during the churning process.
Step 5: Churn the Ice Cream
Once the mixture is chilled, transfer it to an ice cream maker. Churn according to the manufacturer’s instructions, which typically takes about 20–25 minutes. The mixture should reach a soft-serve consistency at this stage.
Step 6: Freeze to Set
After churning, scoop the soft ice cream into an airtight container. Freeze for an additional 2–3 hours to allow the ice cream to firm up to the perfect scoopable texture.
Step 7: Serve and Enjoy
When ready to serve, scoop the orange ice cream into bowls or cones. For an extra touch, garnish with fresh orange slices or a sprinkle of orange zest. Enjoy the refreshing taste of summer in every bite!
Serving Suggestions:
This Homemade Orange Creamsicle Ice Cream is perfect on its own, but you can elevate your dessert experience by serving it alongside a slice of pound cake or a warm brownie. For a fun twist, consider making an ice cream float by adding a scoop to a glass of sparkling water or lemon-lime soda.
Tips:
- Creamier Texture: For an ultra-smooth ice cream, strain the mixture before chilling to remove the zest. This will give you a velvety texture without the bits of zest.
- Dairy-Free Option: If you’re looking for a dairy-free version, simply replace the heavy cream and whole milk with coconut cream and almond milk. This will still yield a deliciously creamy result.
- Storage: Keep the ice cream in an airtight container in the freezer for up to two weeks. Allow it to sit at room temperature for a few minutes before scooping for easier serving.
Prep Time:
15 minutes (plus chilling)
Cook Time:
25 minutes
Total Time:
~3 hours 40 minutes
Nutritional Information (per serving):
- Calories: ~200 kcal
- Protein: 2 g
- Sodium: 50 mg
Conclusion
Homemade Orange Creamsicle Ice Cream is more than just a dessert; it’s a delightful way to capture the essence of summer in a bowl. With its bright, citrusy flavor and creamy texture, it’s a treat that appeals to all ages. Whether enjoyed on a hot day or as a sweet ending to a family meal, this ice cream is sure to bring smiles and satisfaction. So gather your ingredients, follow the steps, and indulge in this refreshing homemade delight!
Questions and Answers about this Recipe
Q1: Can I use bottled orange juice instead of fresh?
A1: While you can use bottled orange juice, fresh juice will provide a brighter, more vibrant flavor that enhances the overall taste of the ice cream.
Q2: How can I make this ice cream without an ice cream maker?
A2: If you don’t have an ice cream maker, pour the chilled mixture into a shallow dish and freeze it. Stir the mixture every 30 minutes for the first 2-3 hours to break up ice crystals until it reaches a creamy consistency.
Q3: What can I do with leftover orange zest?
A3: Leftover orange zest can be used to flavor baked goods, salads, or marinades. It can also be frozen for later use.
Q4: How long can I store this ice cream?
A4: This ice cream can be stored in an airtight container in the freezer for up to two weeks. For the best texture, consume it within one week.
Q5: Can I add other flavors or mix-ins to this recipe?
A5: Absolutely! Feel free to add mix-ins like chocolate chips, crushed cookies, or even a swirl of raspberry puree for a unique twist on this classic flavor.
