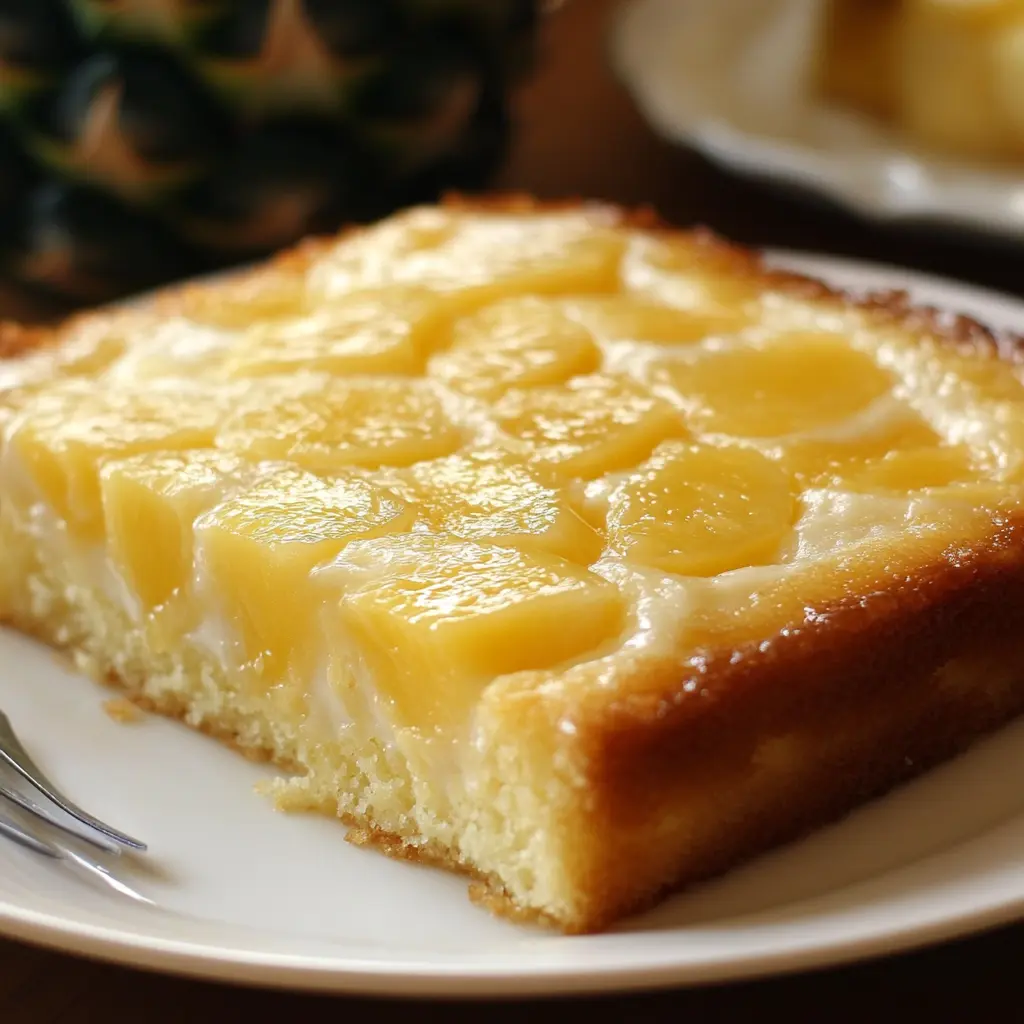
Description: This delightful Pineapple Heaven Cake is a moist, flavorful loaf cake bursting with the tropical sweetness of pineapple. It’s a perfect treat for any occasion, from a casual brunch to an elegant dessert. The cake features a tender crumb, a subtle tang from the sour cream, and a vibrant pineapple flavor that’s enhanced by a simple yet delicious pineapple glaze.
Why You’ll Love This Recipe:
- Unbelievably Moist: The combination of sour cream and crushed pineapple ensures an exceptionally moist and tender cake that stays fresh for days.
- Tropical Flavors: The sweet and tangy pineapple flavor perfectly complements the richness of the cake, creating a delightful taste experience.
- Easy to Make: This recipe is straightforward and uses common pantry ingredients, making it accessible for bakers of all skill levels.
- Versatile: Enjoy it as a breakfast treat, an afternoon snack, or a satisfying dessert. The Pineapple Heaven Cake is a guaranteed crowd-pleaser.
- Simple Glaze: The pineapple glaze adds a touch of sweetness and enhances the pineapple flavor, creating a polished finish to this delightful cake.
Introduction
Baking is an art, and the Juicy Pineapple Heaven Cake is a masterpiece waiting to be created. I remember the first time I tasted a pineapple cake; it was at a small bakery on a tropical island. The cake was unbelievably moist, with a vibrant pineapple flavor that danced on my tongue. I was determined to recreate that experience at home, and after many attempts, I finally perfected this recipe.
This cake is more than just a dessert; it’s an escape to a sunny paradise. The combination of simple ingredients transforms into something truly special, perfect for sharing with loved ones or enjoying on your own with a cup of coffee or tea. Whether you’re a seasoned baker or just starting out, this recipe is sure to become a new favorite. The magic of this Pineapple Heaven Cake lies in its simplicity and the way the flavors meld together, creating a moist, flavorful, and utterly irresistible treat.
Ingredients:
- 1 1/2 cups all-purpose flour: Provides the structure for the cake. Make sure the flour is fresh for the best results.
- 1 tsp baking powder: Leavening agent that helps the cake rise, resulting in a light and airy texture.
- 1/2 tsp salt: Enhances the flavors of the other ingredients and balances the sweetness.
- 1/2 cup unsalted butter, softened: Adds richness and moisture to the cake. Using softened butter ensures it creams properly with the sugar.
- 1 cup granulated sugar: Sweetens the cake and helps create a tender crumb.
- 2 large eggs: Binds the ingredients together and adds moisture. Use room-temperature eggs for better emulsification.
- 1 tsp vanilla extract: Enhances the overall flavor profile of the cake. Use pure vanilla extract for the best taste.
- 1/2 cup sour cream: Adds moisture and a subtle tang that complements the pineapple flavor. You can substitute with Greek yogurt for a similar effect.
- 1 cup crushed pineapple, well drained: The star ingredient! Make sure the pineapple is well-drained to prevent the cake from becoming soggy.
- 1/2 cup powdered sugar: Used to make the glaze, providing a smooth and sweet finish.
- 2 tbsp pineapple juice: Adds moisture and a burst of pineapple flavor to the glaze.
Preparation:
Step 1: Prepare the Oven and Pan:
Preheat your oven to 350°F (175°C). This ensures the cake bakes evenly. Grease and flour a loaf pan. This step is crucial to prevent the cake from sticking to the pan. You can also use baking spray with flour for convenience. The size of the loaf pan is important; a standard 9×5 inch loaf pan works best. Using a different size pan may affect the baking time.
Step 2: Mix Dry Ingredients:
In a medium bowl, whisk together the flour, baking powder, and salt. Whisking ensures the ingredients are evenly distributed, which is essential for a uniform cake texture. This step prevents clumps of baking powder or salt from ending up in one part of the cake.
Step 3: Cream Butter and Sugar:
Using an electric mixer, beat the softened butter and sugar in a large bowl until light and fluffy. This process, known as creaming, incorporates air into the mixture, which contributes to a lighter and more tender cake. Beat for at least 3-5 minutes until the mixture is noticeably paler and fluffier.
Step 4: Add Eggs and Vanilla:
Beat in the eggs one at a time, followed by the vanilla extract. Adding the eggs one at a time allows them to emulsify properly into the batter, creating a smoother and more stable mixture. Vanilla extract enhances the overall flavor of the cake, adding warmth and depth.
Step 5: Combine Ingredients:
Alternately add the dry ingredients and sour cream to the butter mixture, starting and ending with the dry ingredients. This technique prevents overmixing, which can lead to a tough cake. Add the dry ingredients in thirds and the sour cream in halves, mixing until just combined after each addition. Overmixing develops the gluten in the flour, resulting in a denser cake.
Step 6: Incorporate Pineapple:
Fold in the crushed pineapple gently. Folding is a technique that involves using a spatula to gently combine ingredients without deflating the batter. Be careful not to overmix at this stage, as this can also toughen the cake. Make sure the crushed pineapple is well drained to prevent the cake from becoming soggy.
Step 7: Bake the Cake:
Pour the batter into the prepared pan and smooth the top. Bake for 50-60 minutes or until a toothpick inserted into the center comes out clean. The baking time may vary depending on your oven, so start checking the cake after 50 minutes. If the top of the cake is browning too quickly, you can tent it with aluminum foil. A clean toothpick is the best indicator of doneness.
Step 8: Cool and Glaze:
Allow the cake to cool in the pan for 10 minutes, then transfer to a wire rack to cool completely. Cooling the cake slightly in the pan helps it to set and prevents it from breaking when you transfer it to the wire rack. Once the cake is completely cooled, whisk together powdered sugar and pineapple juice to make the glaze; drizzle over the cooled cake. The glaze adds a touch of sweetness and enhances the pineapple flavor.
COOKING Rating:
- Difficulty: Easy
- Taste: Sweet, Tangy, Tropical
- Texture: Moist, Tender, Fluffy
Serving Suggestions:
- Serve slices of the cake with a dollop of whipped cream or a scoop of vanilla ice cream.
- Pair it with a cup of coffee or tea for a delightful afternoon treat.
- Garnish with fresh pineapple chunks or toasted coconut flakes for a tropical touch.
- Serve it warm with a scoop of vanilla ice cream for an extra special dessert.
- Enjoy it as part of a brunch spread alongside other sweet and savory dishes.
Tips:
- Use room-temperature ingredients for better emulsification and a smoother batter.
- Be careful not to overmix the batter, as this can result in a tough cake.
- Drain the crushed pineapple thoroughly to prevent the cake from becoming soggy.
- If the top of the cake is browning too quickly, tent it with aluminum foil during baking.
- Store the cake in an airtight container at room temperature for up to 3 days or in the refrigerator for up to a week.
- For an even more intense pineapple flavor, add a tablespoon of pineapple extract to the batter.
- If you don’t have sour cream, you can substitute with plain Greek yogurt or buttermilk.
- To prevent the cake from sticking, grease and flour the pan thoroughly or use baking spray with flour.
- You can also add a handful of chopped macadamia nuts or walnuts to the batter for added texture and flavor.
- If you want to make cupcakes instead of a loaf cake, bake the batter in muffin tins for about 18-20 minutes.
Prep Time:
- 15 minutes
Cook Time:
- 50-60 minutes
Total Time:
- 65-75 minutes
Nutritional Information (per slice):
(Note: Nutritional information is approximate and can vary based on specific ingredients and serving size.)
- Calories: 300
- Protein: 3g
- Sodium: 200mg
Conclusion
The Juicy Pineapple Heaven Cake is a testament to the magic that can happen when simple ingredients come together in perfect harmony. It’s a cake that’s sure to bring a smile to your face with its moist texture, tropical flavors, and easy-to-make nature. Whether you’re baking for a special occasion or simply craving a sweet treat, this cake is a guaranteed crowd-pleaser. So go ahead, gather your ingredients, and bake a slice of paradise today!
Questions and Answers:
Q1: Can I use fresh pineapple instead of canned?
A: While you can use fresh pineapple, canned crushed pineapple is recommended for this recipe. Canned pineapple is typically sweeter and softer, which contributes to the moistness of the cake. If you do use fresh pineapple, make sure to finely chop it and drain it well to remove excess moisture.
Q2: What if I don’t have sour cream? Can I substitute it with something else?
A: Yes, you can substitute sour cream with plain Greek yogurt or buttermilk. Greek yogurt will provide a similar tangy flavor and moistness, while buttermilk will add a slightly lighter texture. Use the same amount as the sour cream called for in the recipe.
Q3: How do I prevent the cake from sticking to the pan?
A: The best way to prevent the cake from sticking is to grease and flour the loaf pan thoroughly. You can also use baking spray with flour, which is a convenient alternative. Make sure to coat every nook and cranny of the pan.
Q4: Can I freeze this cake?
A: Yes, you can freeze the Pineapple Heaven Cake. Allow the cake to cool completely, then wrap it tightly in plastic wrap and then in aluminum foil. It can be stored in the freezer for up to 2 months. When ready to serve, thaw it overnight in the refrigerator. You can glaze it after thawing for the best results.
Q5: Can I add nuts or other ingredients to the cake?
A: Absolutely! Adding chopped nuts like macadamia nuts or walnuts can add a delightful texture and flavor. You can also add shredded coconut, chocolate chips, or even a hint of spice like cinnamon or nutmeg. Get creative and customize the cake to your liking!