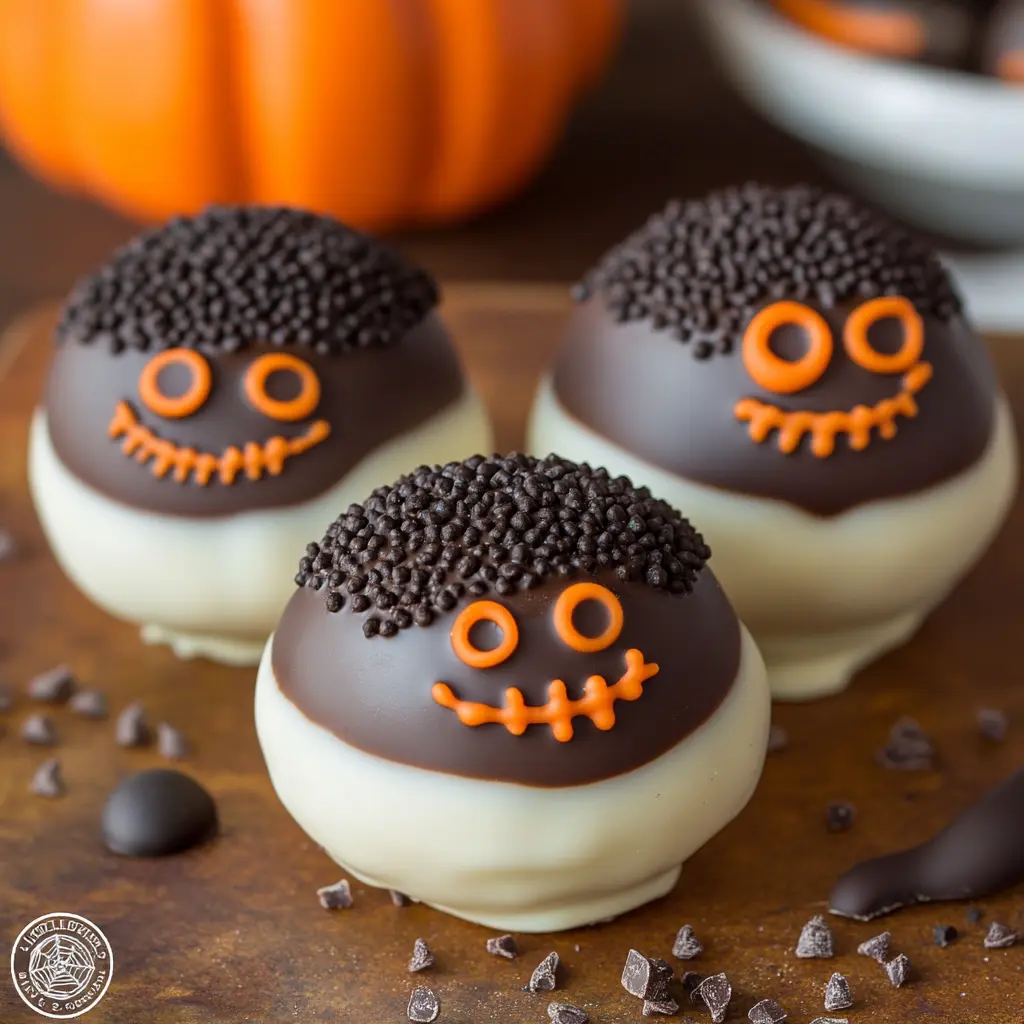
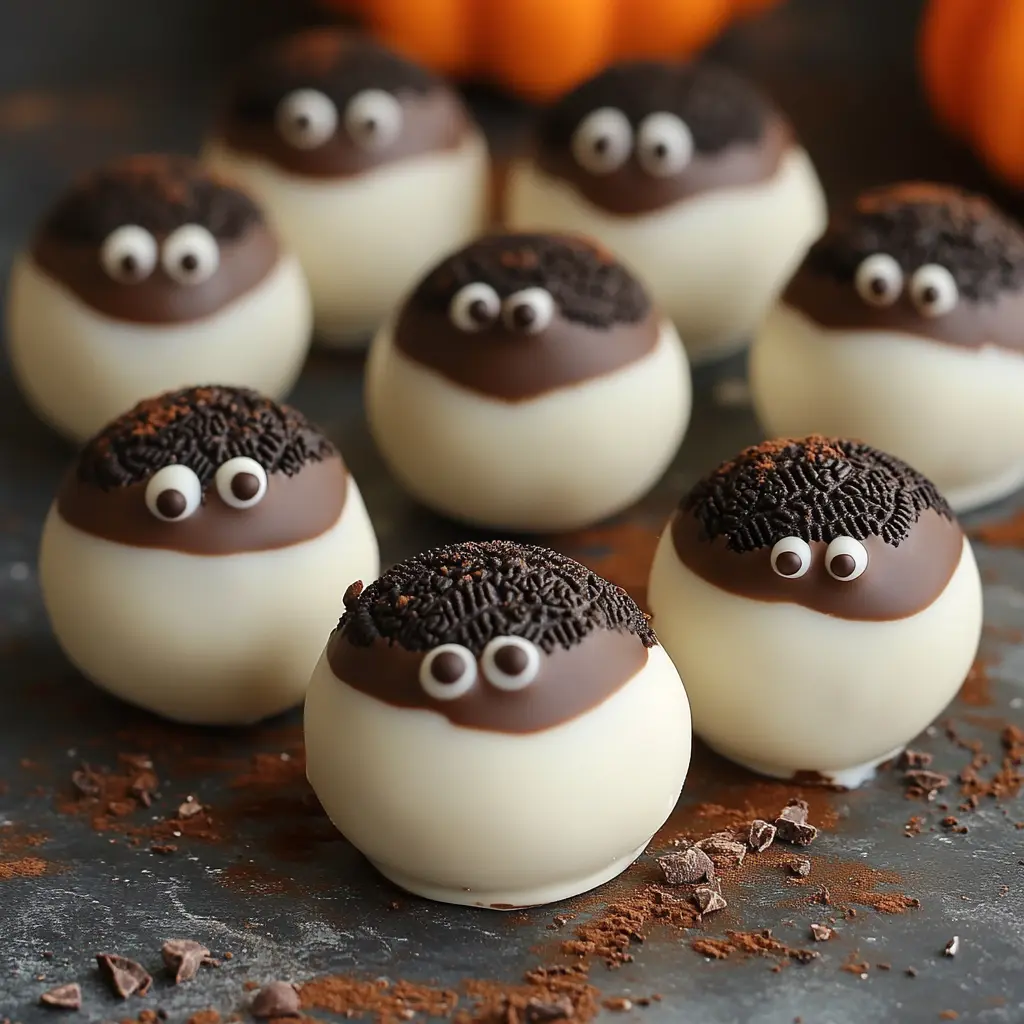
Description of this recipe:
These Halloween-inspired Oreo balls are a delightful treat that combines the beloved flavors of Oreo cookies and cream cheese, all wrapped in a luscious chocolate coating. With their festive decorations, they make a perfect addition to any Halloween celebration or fall gathering.
Why you will love this recipe:
Not only are these Spooky Oreo Balls incredibly easy to make, but they also offer a decadent taste that appeals to both kids and adults alike. Their versatility allows for creative decorations, making them a fun project for families and a show-stopping dessert for parties. Plus, they can be made ahead of time, allowing you to enjoy more time with your guests!
Introduction:
Halloween is a time for fun, creativity, and, of course, delicious treats. One of the easiest and most enjoyable ways to celebrate this spooky season is by making Spooky Oreo Balls. These bite-sized delights are not only a feast for the eyes but also a treat for the taste buds. With just a handful of ingredients and minimal preparation time, you can whip up a batch of these delectable sweets that will surely impress your friends and family. Whether you’re hosting a Halloween party, attending a potluck, or simply want to indulge in a festive dessert, these Oreo balls are the perfect choice. Let’s dive into the recipe and discover how to make these scrumptious treats!
Ingredients:
- 1 (14-ounce) package Oreos
- 1 (8-ounce) package cream cheese, softened
- 1 (12-ounce) bag candy melts or chocolate chips
- Vegetable oil (optional, for thinning)
- Edible decorations (sprinkles, candy eyes, or orange and black decorations)

Preparation:
Step 1:
Begin by placing the Oreos in a food processor or blender. Pulse them until they form fine crumbs. This should take about 30 seconds to a minute. Be sure to include the cream filling, as it adds richness to the mixture.
Step 2:
In a mixing bowl, combine the Oreo crumbs with the softened cream cheese. Using a handheld mixer, beat the mixture on medium speed until it is well combined and forms a thick, dough-like consistency. Make sure there are no lumps of cream cheese left.
Step 3:
Once your mixture is ready, use your hands to roll it into small balls, about 1 inch in diameter. Place the balls on a baking sheet lined with parchment paper. Once all the mixture is rolled into balls, cover them with plastic wrap and chill in the refrigerator for at least 1 hour. This step is crucial as it helps the balls firm up, making them easier to dip in chocolate.
Step 4:
After the chilling period, it’s time to melt the candy melts or chocolate chips. Follow the package instructions for melting. If you find the chocolate is too thick, you can add a small amount of vegetable oil to thin it out, which will help achieve a smoother coating.
Step 5:
To coat the Oreo balls, take one chilled ball and place it on a fork. Spoon the melted candy or chocolate over the ball, ensuring it is fully covered. Gently tap the fork against the edge of the bowl to remove any excess chocolate. Carefully slide the coated ball back onto the parchment paper. While the chocolate is still wet, decorate with edible decorations of your choice. Allow the chocolate to set completely before serving.
Serving Suggestions:
These Spooky Oreo Balls can be served on a festive platter, garnished with additional Halloween-themed decorations. Consider pairing them with a selection of other treats, like pumpkin-shaped cookies or ghost-themed cupcakes, to create a delightful dessert table for your Halloween festivities.
Tips:
- For a fun twist, try using different flavored Oreos, such as mint or peanut butter, to create unique variations of these balls.
- If you want to make them extra spooky, use colored candy melts (like orange or purple) for coating and top them with themed sprinkles or edible glitter.
- Store any leftovers in an airtight container in the refrigerator for up to a week. They can also be frozen for longer storage—just allow them to thaw in the fridge before serving.
Prep Time: 1 hour
Cook Time: 10 minutes (for melting and coating)
Total Time: 1 hour 10 minutes
Nutritional Information (per ball, varies based on size and decorations):
- Calories: Approximately 120
- Protein: 1.5g
- Sodium: 50mg
Conclusion:
Spooky Oreo Balls are the ultimate Halloween treat that combines simplicity with festive fun. They are perfect for any gathering and can be customized to fit your party theme. With their rich Oreo flavor and creamy texture, these treats will disappear quickly, leaving everyone asking for more. So gather your ingredients, invite your friends or family to join in on the fun, and create these delightful spooky bites that will make your Halloween celebrations truly memorable!
Questions and Answers about this recipe:
1. Can I use different types of cookies instead of Oreos?
Absolutely! While Oreos are the traditional choice, you can experiment with other cookies like chocolate sandwich cookies, vanilla wafers, or even graham crackers for a different flavor profile.
2. How long can I store the Spooky Oreo Balls?
You can store them in an airtight container in the refrigerator for up to one week. If you want to keep them longer, they can be frozen for up to three months. Just make sure to thaw them in the fridge before serving.
3. Can I make these Oreo balls vegan?
Yes! You can use vegan cream cheese and dairy-free chocolate chips or candy melts to make this recipe vegan-friendly. Just ensure that the cookies you use are also dairy-free.
4. What can I use for decorations?
Get creative! You can use edible glitter, colored sprinkles, candy eyes, or even small Halloween-themed candies like gummy worms or mini pumpkins to enhance the spooky look of your Oreo balls.
5. Can I make these ahead of time?
Definitely! These Oreo balls can be made a day or two in advance, making them a convenient treat for any party. Just store them in the refrigerator until you’re ready to serve.
