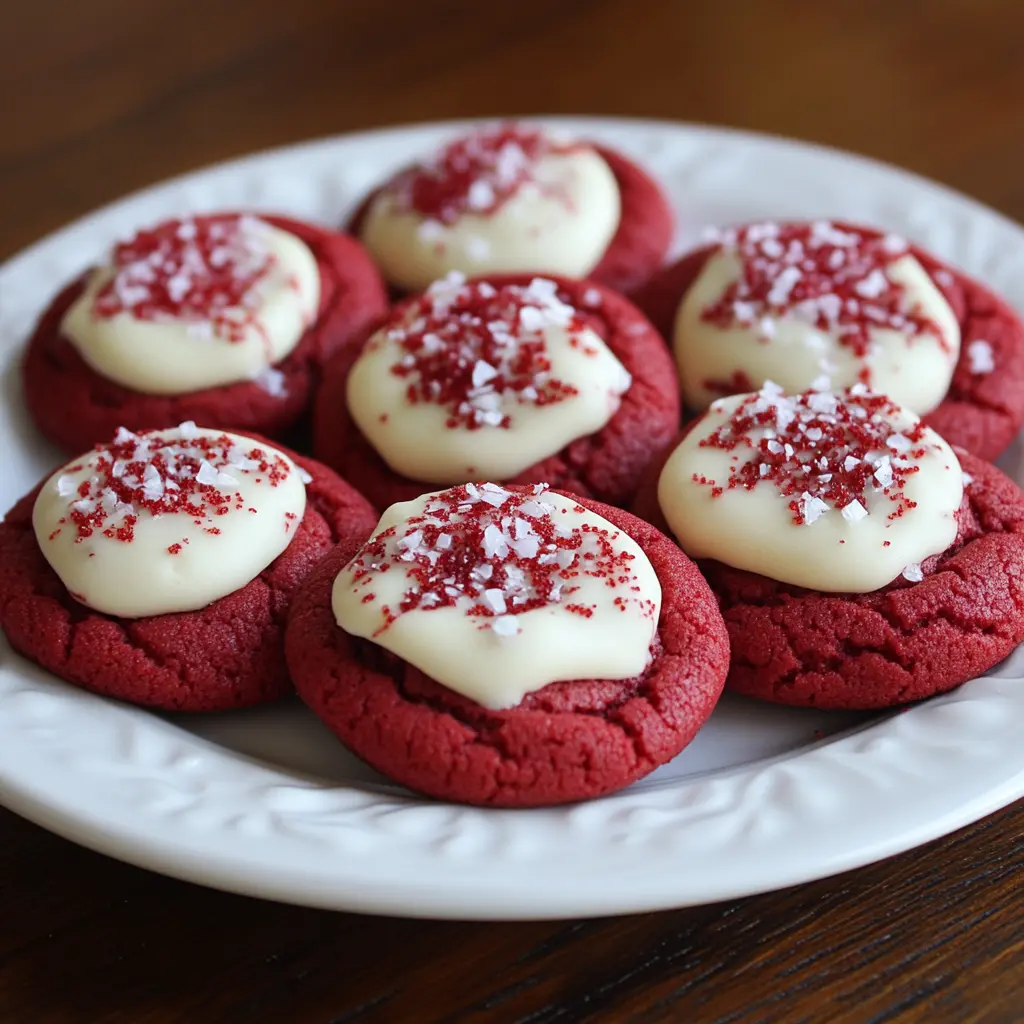
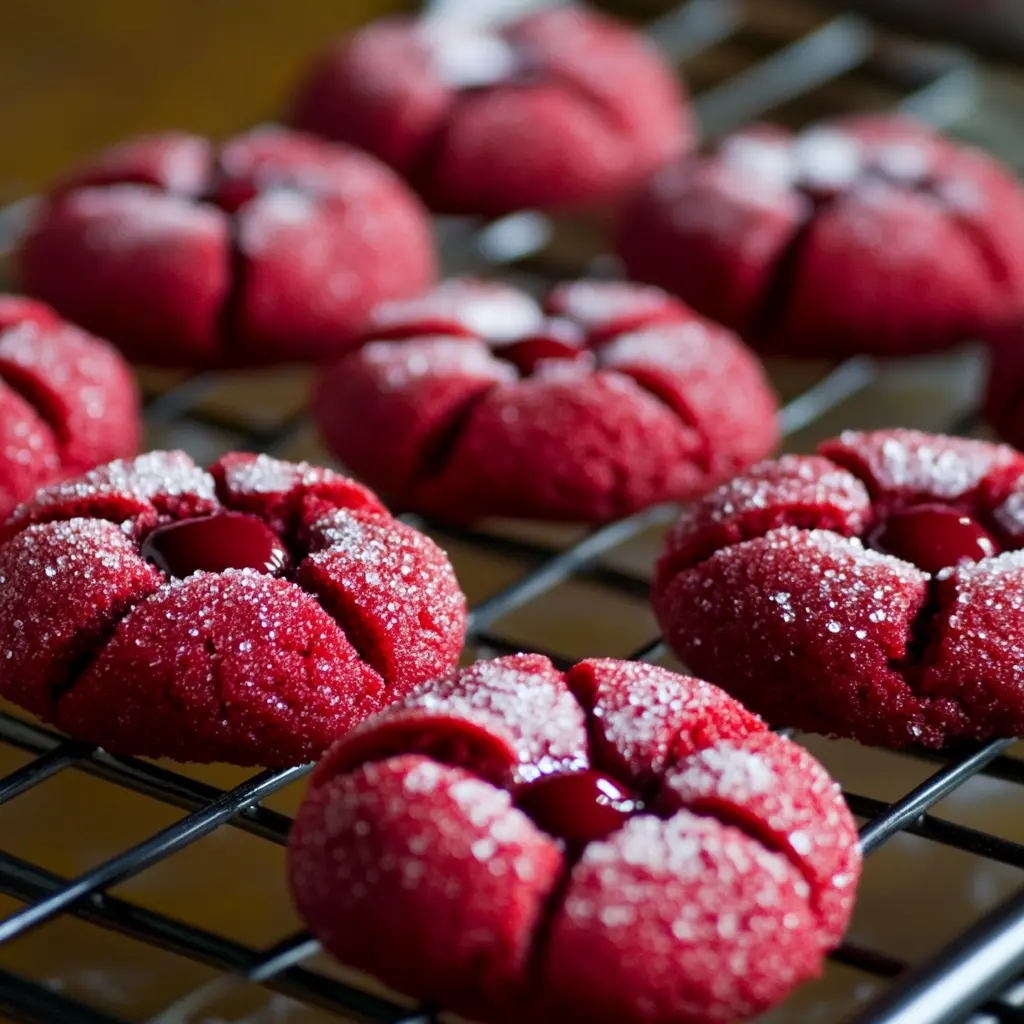
Indulge in the delightful world of cookies with these Hershey’s Red Velvet Blossoms Cookies. They are not just any cookies; they are a stunning combination of rich red velvet flavor and the classic sweetness of chocolate kisses. The vibrant red hue, coupled with the creamy white powdered sugar coating, makes them a perfect treat for any festive occasion or a cozy family gathering.
Why You Will Love This Recipe
These cookies are the epitome of holiday cheer! With their soft, velvety texture and the unmistakable burst of chocolate from the Hershey’s Kisses, they are sure to be a hit with both kids and adults alike. The simple preparation process makes them accessible for bakers of all skill levels, while the impressive presentation ensures they will be the centerpiece of any dessert table. Plus, who can resist the combination of red velvet and chocolate? It’s a match made in dessert heaven!
Introduction
Red velvet cake has long been a favorite for its unique flavor and striking appearance, but why stop at cake? Transforming this classic dessert into cookie form not only makes it easier to share but also adds a playful twist. The addition of Hershey’s Kisses on top brings a delightful surprise with every bite, making these cookies a perfect treat for holiday parties, birthdays, or just a special afternoon snack. This recipe is easy to follow, and the results are guaranteed to impress. So, let’s roll up our sleeves and get baking!
Ingredients:
- 2 1/4 cups all-purpose flour
- 1 tablespoon cocoa powder
- 1 teaspoon baking soda
- 1/2 teaspoon salt
- 1/2 cup unsalted butter, softened
- 1 cup sugar
- 1 large egg
- 1 tablespoon red food coloring
- 1 teaspoon vanilla extract
- 1/2 cup powdered sugar
- 30 Hershey’s Kisses, unwrapped

Preparation:
Step 1: Preheat the Oven
Begin by preheating your oven to 350°F (175°C). This step is crucial as it ensures that the cookies bake evenly and achieve that perfect texture.
Step 2: Mix the Dry Ingredients
In a medium-sized bowl, whisk together the all-purpose flour, cocoa powder, baking soda, and salt. This mixture forms the foundation of your cookies and helps to ensure that all the dry ingredients are evenly distributed.
Step 3: Cream Butter and Sugar
In a separate large mixing bowl, beat the softened unsalted butter and sugar together using an electric mixer. Mix on medium speed until the mixture is light and fluffy, which should take about 3-5 minutes. This step is essential for creating a light texture in your cookies.
Step 4: Add Egg and Color
Once your butter and sugar are well combined, add in the large egg, red food coloring, and vanilla extract. Mix until everything is fully incorporated. The red food coloring will give your cookies their signature hue, so don’t be shy—add enough to achieve a vibrant red!
Step 5: Combine Mixtures
Gradually add the dry ingredient mixture to the wet ingredients. Stir gently until just combined; be careful not to overmix. Overmixing can lead to tough cookies, so stop as soon as you see no more flour streaks.
Step 6: Roll the Cookies
Using a tablespoon, scoop out portions of the dough and roll them into balls. Once rolled, coat each dough ball in powdered sugar, ensuring they are evenly covered. This will give your cookies a beautiful, snowy appearance once baked.
Step 7: Bake the Cookies
Place the powdered-sugar-coated dough balls onto a baking sheet lined with parchment paper, spacing them about 2 inches apart. Bake in the preheated oven for 10-12 minutes, or until the edges are set and the tops look slightly cracked.
Step 8: Add the Kisses
As soon as you remove the cookies from the oven, gently press a Hershey’s Kiss into the center of each cookie. The heat from the cookies will soften the chocolate, creating a delicious melty center.
Step 9: Cool
Allow the cookies to cool on the baking sheet for about 5 minutes before transferring them to a wire rack to cool completely. This cooling period allows the cookies to firm up a bit, making them easier to handle.
Serving Suggestions:
These cookies are perfect for any occasion. Serve them on a festive platter at holiday gatherings, pack them in a lunchbox for a sweet surprise, or enjoy them with a glass of milk or a cup of coffee. They also make wonderful gifts when packaged in decorative boxes.
Tips:
- For an extra touch, consider adding a sprinkle of sea salt on top of the chocolate kisses once they come out of the oven.
- If you want a deeper red color, feel free to add more food coloring, but be cautious not to alter the dough’s consistency.
- Store your cookies in an airtight container at room temperature for up to one week to keep them fresh.
Prep Time:
15 minutes
Cook Time:
10-12 minutes
Total Time:
25-27 minutes
Nutritional Information:
- Calories: 120 per cookie
- Protein: 1.5g
- Sodium: 50mg
Conclusion
Hershey’s Red Velvet Blossoms Cookies are a delightful treat that combines a classic flavor with a fun twist. Their vibrant color and delicious taste make them a favorite for all occasions, from holiday parties to casual gatherings. The combination of the soft, chewy cookie and the chocolatey Hershey’s Kiss creates a mouthwatering experience that will leave everyone asking for more. So, gather your ingredients and get ready to impress your friends and family with these irresistible cookies!
Questions and Answers about this Recipe
1. Can I use a different type of chocolate for the center?
Yes! While Hershey’s Kisses are traditional, you can use any chocolate you prefer—like chocolate chips or even a caramel-filled candy.
2. What can I do if I don’t have red food coloring?
If you don’t have red food coloring, you can use beet juice or leave it out entirely. The cookies will still taste delicious, though they won’t have the signature red color.
3. How do I store the cookies?
Store the cookies in an airtight container at room temperature. They will stay fresh for up to a week.
4. Can I freeze the cookie dough?
Absolutely! You can freeze the rolled dough balls before baking. Just place them in a single layer on a baking sheet until frozen, then transfer them to a freezer bag. When you’re ready to bake, just add a couple of extra minutes to the baking time.
5. Are these cookies suitable for special diets?
This recipe contains gluten and dairy, so it may not be suitable for those with gluten intolerance or dairy allergies. However, you can experiment with gluten-free flour and dairy-free butter to make a suitable alternative.
