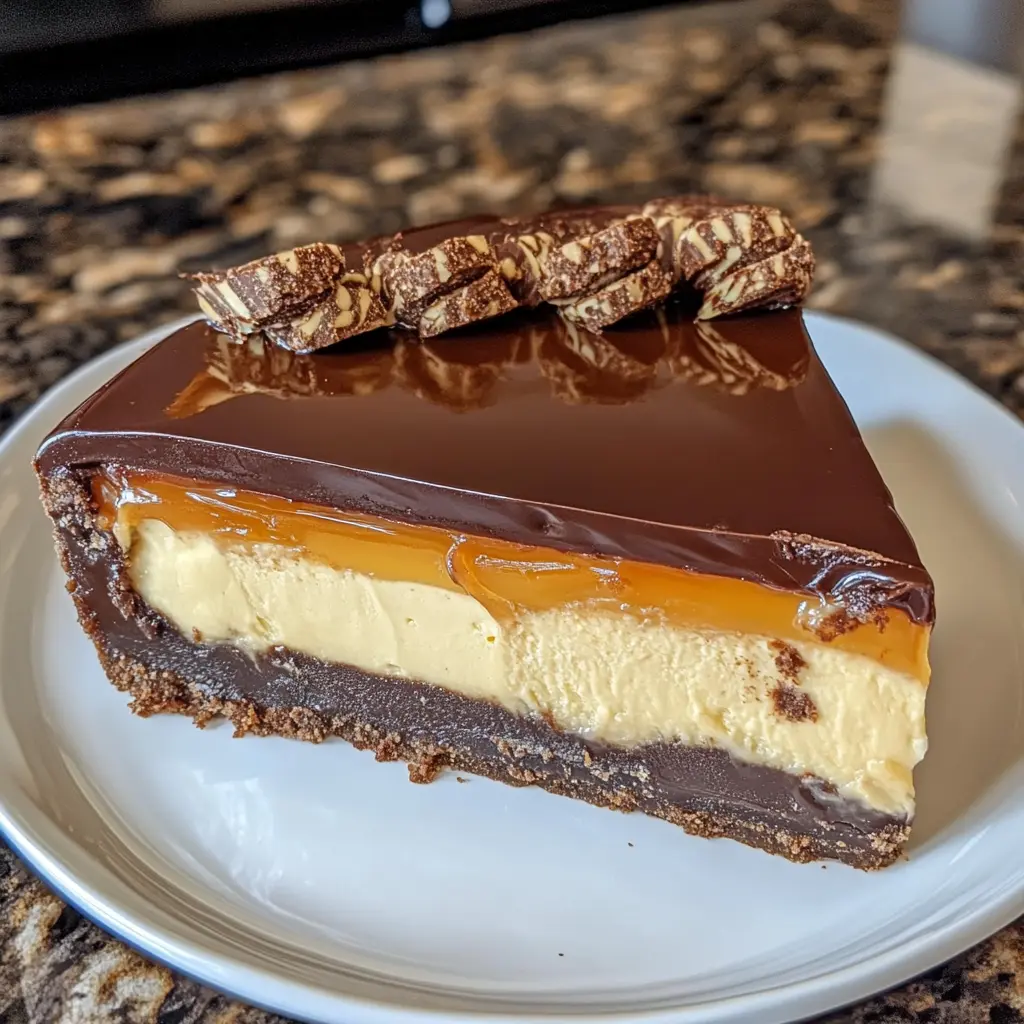
This Homemade No-Bake Twix Cheesecake is a decadent dessert that combines the rich flavors of chocolate, creamy cheesecake, and luscious caramel. With its easy-to-follow steps, you can whip up this impressive treat without turning on the oven. It’s perfect for any occasion, whether it’s a holiday gathering, a birthday celebration, or simply a sweet indulgence on a cozy weekend.
Why You Will Love This Recipe
You will love this recipe for its delightful layers and textures. The crunchy graham cracker crust provides a perfect base, while the smooth chocolate layer and creamy cheesecake filling create a heavenly combination. The caramel sauce adds a touch of sweetness that ties all the flavors together. Plus, it’s a no-bake recipe, making it incredibly easy to prepare. With just a few simple ingredients, you’ll have a show-stopping dessert that will impress your family and friends.
Introduction
If you’re a fan of the classic Twix candy bar, this cheesecake is sure to become your new favorite dessert. The combination of chocolate, caramel, and creamy cheesecake is not only delicious but also visually stunning when served. This recipe is perfect for those who enjoy a rich dessert without the hassle of baking. With a prep time of just 20 minutes and a chill time of 4 hours, you can easily prepare this cheesecake ahead of time and let it set in the refrigerator. Gather your ingredients, and let’s dive into making this delightful treat!
Ingredients:
- 2 cups graham cracker crumbs
- 1/2 cup melted butter
- 1 cup chocolate chips
- 1/2 cup heavy cream
- 2 cups cream cheese, softened
- 1/2 cup powdered sugar
- 1 tsp vanilla extract
- 1 cup caramel sauce
- 1 cup whipped cream
Preparation:
Step 1: Make the Crust
In a mixing bowl, combine the graham cracker crumbs and melted butter until well mixed. The mixture should resemble wet sand. Press the mixture firmly into the bottom of a springform pan to create a solid crust layer. Once pressed down evenly, refrigerate for 10 minutes to allow it to set.
Step 2: Prepare the Chocolate Layer
In a microwave-safe bowl, combine the chocolate chips and heavy cream. Microwave in 20-second intervals, stirring each time until the mixture is smooth and creamy. Once melted, pour this chocolate mixture over the chilled crust and spread it evenly with a spatula. Place the pan back in the fridge for 15-20 minutes until the chocolate firms up.
Step 3: Make the Cheesecake Filling
In a large mixing bowl, beat the softened cream cheese until smooth. Gradually add the powdered sugar and vanilla extract, mixing until fully combined and creamy. Gently fold in the whipped cream to add lightness to the filling. Be careful not to deflate the whipped cream; you want to maintain that airy texture.
Step 4: Assemble the Layers
Spoon the cheesecake filling over the chilled chocolate layer, spreading it evenly to cover the entire surface. Drizzle the caramel sauce on top of the cheesecake filling, smoothing it out gently with a spatula. The caramel will add a beautiful shine and an irresistible sweet flavor.
Step 5: Final Chocolate Drizzle
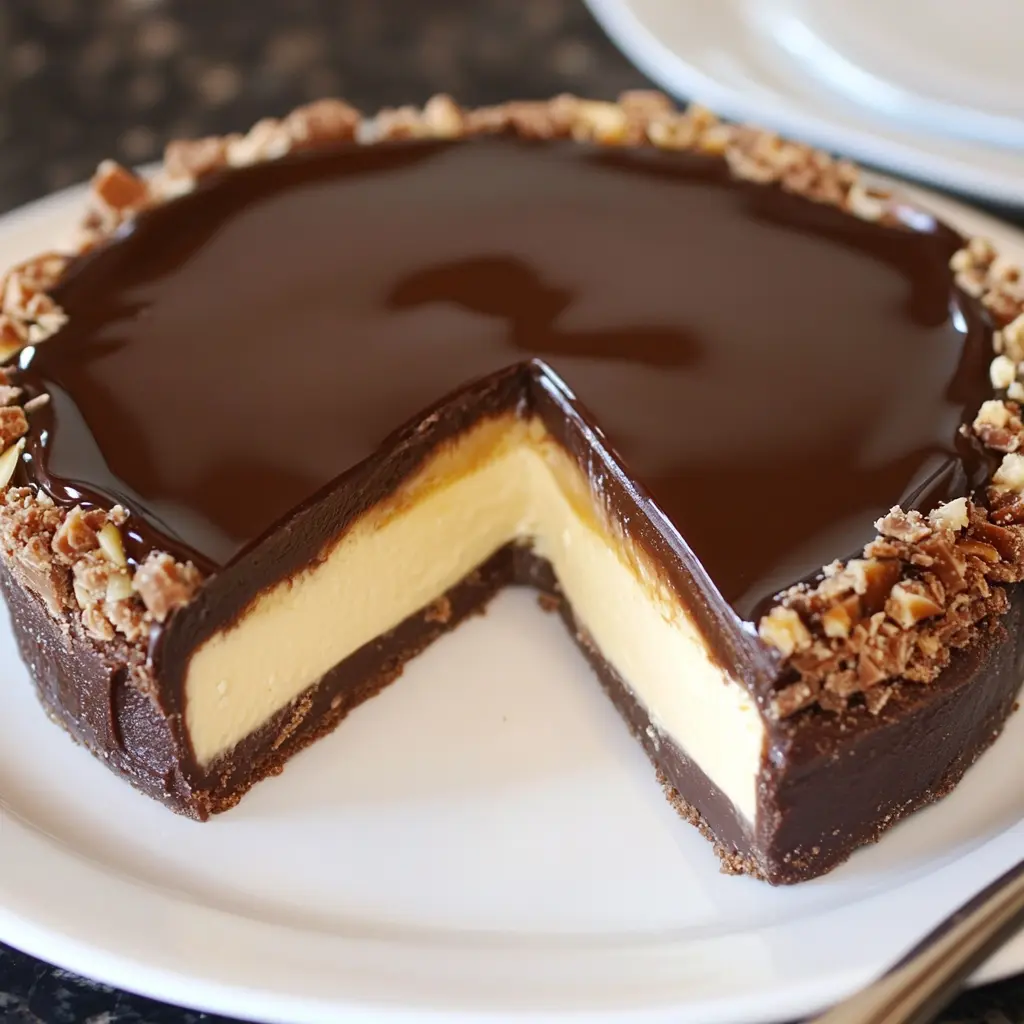
For an extra touch of decadence, melt additional chocolate chips with a bit of heavy cream in the microwave. Drizzle this melted chocolate over the caramel layer, allowing some of it to drip down the sides of the cheesecake for a stunning presentation.
Chill and Serve:
Refrigerate the cheesecake for at least 4 hours or until fully set. Once chilled, carefully remove the sides of the springform pan. Slice the cheesecake into wedges and serve. Enjoy the delightful layers of chocolate, caramel, and creamy cheesecake!
Serving Suggestions:
This No-Bake Twix Cheesecake is delightful on its own, but you can elevate the presentation by garnishing with additional whipped cream, chocolate shavings, or a sprinkle of sea salt on top. Serve it alongside fresh berries or a scoop of vanilla ice cream for an extra special treat.
Tips:
- For easy slicing, warm your knife with hot water before cutting. This will help make clean slices through the caramel and chocolate layers.
- You can prepare the cheesecake a day in advance. It tastes even better after sitting overnight, allowing the flavors to meld beautifully.
- Feel free to customize the cheesecake by adding crushed Twix bars on top or mixing them into the cheesecake filling for an extra crunch.
Prep Time: 20 mins
Cook Time: 0 mins
Total Time: 4 hrs 20 mins
Servings: 8-10
Calories: Approx. 450 per serving
Nutritional Information:
- Calories: 450
- Protein: 6g
- Sodium: 200mg
Conclusion
This Homemade No-Bake Twix Cheesecake is a dessert that brings joy to any gathering. Its combination of flavors and textures will leave your guests raving about it long after the last slice is gone. Whether you’re a seasoned baker or a novice in the kitchen, this recipe is approachable and rewarding. So, roll up your sleeves, gather your ingredients, and treat yourself to this indulgent cheesecake that’s sure to impress!
Questions and Answers about this Recipe
- Can I use a different type of cookie for the crust?
Yes, you can use other types of cookies such as Oreos or digestive biscuits. Just crush them into crumbs and combine with melted butter to create the crust. - How long can I store the cheesecake in the refrigerator?
The cheesecake can be stored in the refrigerator for up to 5 days. Just make sure to cover it with plastic wrap or store it in an airtight container to keep it fresh. - Can I freeze the No-Bake Twix Cheesecake?
Yes, you can freeze the cheesecake! Wrap it tightly in plastic wrap and then in aluminum foil. It can be frozen for up to 2 months. Thaw it in the refrigerator before serving. - What can I substitute for heavy cream if I want a lighter option?
You can use half-and-half or a light cream alternative, but keep in mind that the texture and richness may be slightly different. - Is it necessary to use a springform pan for this cheesecake?
A springform pan makes it easier to remove the cheesecake without damaging it, but you can also use a regular pie dish. Just be careful when serving to ensure you don’t break the cheesecake.