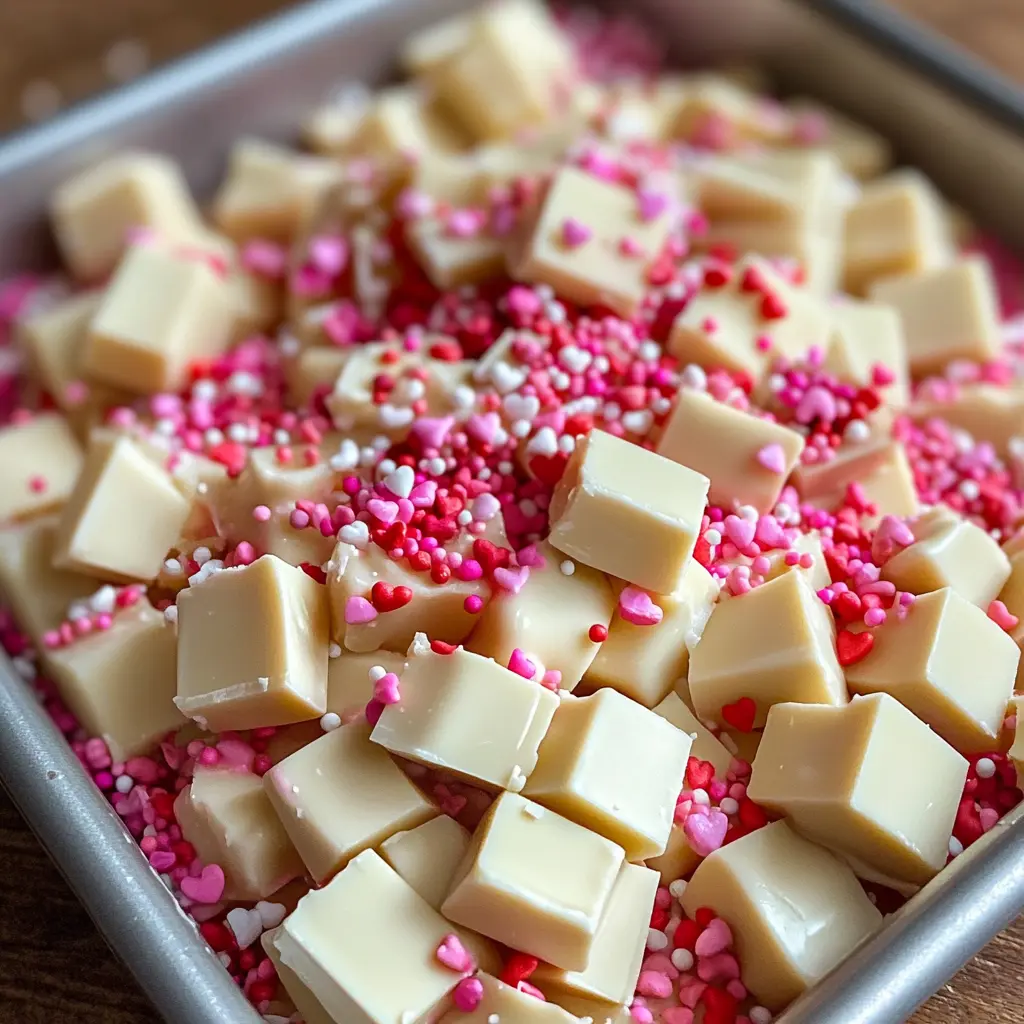
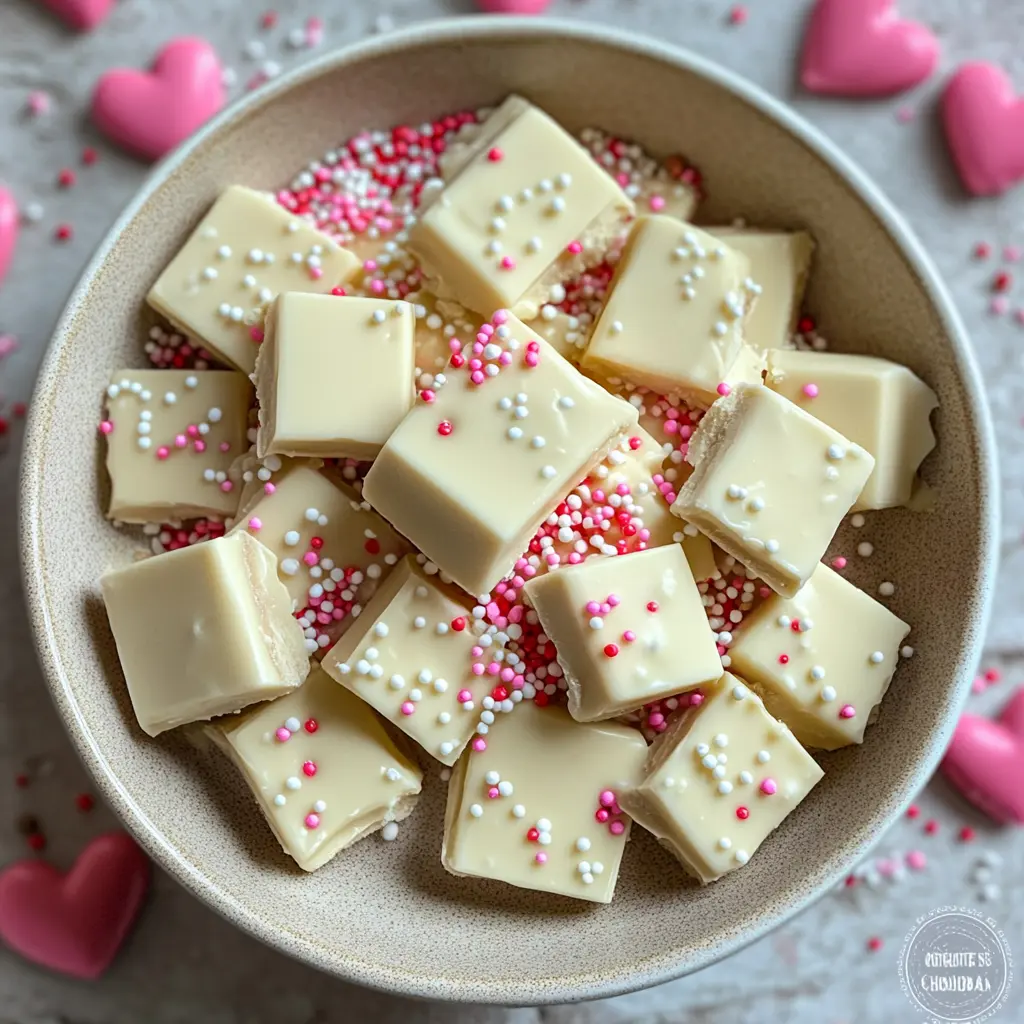
Description of this recipe:
This creamy and decadent white chocolate fudge is the ultimate sweet treat for Valentine’s Day. With its beautiful layers of pink and white, adorned with festive sprinkles, it’s not only easy to make but also irresistibly delicious. Perfect for sharing or gifting, this fudge embodies the spirit of love and sweetness that the holiday represents.
Why you will love this recipe:
This white chocolate Valentine fudge is the perfect blend of simplicity and sophistication. Its creamy texture melts in your mouth, while the rich sweetness of white chocolate is complemented by a hint of vanilla. The two-toned appearance not only makes it a stunning centerpiece for your dessert table but also allows you to customize the colors to suit your theme. It’s the easy, no-bake dessert that everyone will love, making it ideal for Valentine’s celebrations.
Introduction:
As Valentine’s Day approaches, we often find ourselves searching for the perfect way to express our love and appreciation for those special people in our lives. While flowers and cards are always nice, there’s something magical about creating a heartfelt homemade treat. This White Chocolate Valentine Fudge is just the thing to impress your loved ones with minimal effort. With just a handful of ingredients and a bit of time, you can whip up this delightful fudge that’s sure to elicit smiles and sweet sentiments. Whether you’re gifting it to friends, family, or that special someone, this fudge is certain to be a hit!
Ingredients:
- 3 cups white chocolate chips
- 1 can (300 ml) sweetened condensed milk
- Pinch of salt
- Red food coloring (optional)
- 1 tsp vanilla extract
- Valentine sprinkles (for topping)

Preparation:
Step 1: Begin by preparing your workspace. Line an 8-inch square pan with parchment paper, allowing some overhang on the sides. This will help you remove the fudge easily from the pan once it’s set. Set the pan aside for later.
Step 2: In a microwavable bowl, combine 1½ cups of white chocolate chips with half of the sweetened condensed milk and a pinch of salt. Microwave the mixture in 20-second intervals, stirring thoroughly after each interval to ensure even melting. Continue this process until the chocolate is completely melted and smooth.
Step 3: Once your chocolate mixture is melted, stir in ½ teaspoon of vanilla extract for flavor enhancement. If you want to achieve a lovely pink color, add 2 drops of red food coloring at this stage. Mix well, adjusting the amount of food coloring until you reach your desired shade of pink.
Step 4: Carefully spread the pink fudge mixture evenly into the prepared pan. Smooth the top with a spatula or the back of a spoon, creating an even layer. Place the pan in the refrigerator and let it chill for about 30 minutes, or until firm to the touch.
Step 5: In another clean bowl, combine the remaining 1½ cups of white chocolate chips, the remaining half can of sweetened condensed milk, and another pinch of salt. Repeat the microwaving process as before, heating in 20-second intervals and stirring until the mixture is smooth and fully melted.
Once melted, stir in the remaining ½ teaspoon of vanilla extract and mix well. Remove the chilled pink fudge from the refrigerator and carefully spread the white fudge mixture over the top. Ensure an even distribution across the pink layer for a beautiful finished product.
To add some festive flair, sprinkle Valentine-themed sprinkles generously on top of the white fudge.
Return the pan to the refrigerator and chill for an additional 2 hours, or until the fudge is firm and set.
Serving Suggestions:
Once set, remove the fudge from the pan using the parchment overhang. Place it on a cutting board and cut it into small squares. For serving, you can display the fudge in a cute box or a decorative plate, beautifully arranged with additional Valentine sprinkles for an eye-catching presentation. This fudge pairs perfectly with a cup of hot cocoa or your favorite tea, making for a lovely afternoon indulgence or dessert after a romantic dinner.
Tips:
- Storage: Keep your fudge tightly covered at room temperature for up to a week. For longer storage, refrigerate it within an airtight container for several weeks.
- Variations: Feel free to get creative with colors and flavors! You can use different food colorings to match any occasion or add extracts like almond or peppermint for a twist on flavor.
- Customizations: Add in some crushed nuts or dried fruits into the fudge layers for texture. This adds another dimension to the eating experience.
Prep Time:
15 minutes
Cook Time:
5 minutes
Total Time:
2 hours, 20 minutes (including chilling time)
Nutritional Information:
Calories: Approximately 150 kcal per square
Protein: 1g per square
Sodium: 30mg per square
Conclusion:
This White Chocolate Valentine Fudge is not only a feast for the eyes but also a delicious delight that melts in your mouth. It brings sweetness to any occasion and serves as a heartwarming gesture of love. Whether you’re making it for a partner, friends, or simply indulging yourself, this easy-to-follow recipe ensures that everyone will leave with a smile. So this Valentine’s Day, whip up a batch of this beautiful fudge and spread the love in the sweetest way possible!
Questions and Answers:
Q1: Can I substitute the white chocolate chips with another type of chocolate?
A1: Absolutely! While this recipe is designed for white chocolate, you could use milk chocolate or dark chocolate chips instead. However, keep in mind that the final color of the fudge will change and the flavor will also vary.
Q2: How long should I chill the fudge before serving?
A2: Chill the fudge for at least 2 hours, or until it feels firm to the touch. If you want to prepare it in advance, it can be refrigerated for up to a week!
Q3: What if I don’t have sweetened condensed milk?
A3: If you don’t have sweetened condensed milk, you can make your own by simmering milk and sugar until thickened or use a homemade fudge recipe that uses heavy cream and chocolate instead.
Q4: Can I freeze the fudge?
A4: Yes, you can freeze the fudge! Cut it into squares and place them in an airtight container. They can be frozen for up to three months. Just thaw them in the refrigerator before serving.
Q5: How do I get the fudge to come out smoothly from the pan?
A5: Make sure to line the pan with parchment paper and leave some overhang. Once the fudge is set, use the parchment to lift it out of the pan; this helps in maintaining the shape and makes cutting easier.
